How to Preview Tattoo Placement Before an Appointment
Use virtual tattoo try-on to test size, angle, and body placement before committing to permanent ink.
Placement is one of the hardest tattoo decisions to judge from imagination alone. A design can work on paper and still feel wrong once it is scaled to a wrist, forearm, shoulder, or back.
BeforeOuch Tattoo Try-On helps you preview that decision visually. You upload a body photo, add a tattoo design, adjust the position, and generate a placement preview. The goal is not to replace your artist. The goal is to walk into the consultation with a clearer direction.
Quick answer: Virtual tattoo try-on helps you evaluate approximate tattoo size, angle, visibility, and body placement before an appointment. It is most useful as a planning reference: compare a few placements, save the strongest preview, and let your tattoo artist adapt the final design for real skin.
Use a clear body photo
Start with a photo that shows the exact body area you are considering. Good lighting matters because shadows and blur make placement harder to judge.
For the best preview:
- use natural or even lighting
- keep the body part in focus
- avoid heavy shadows
- keep the camera angle close to how people normally see that area
- leave enough empty skin around the placement
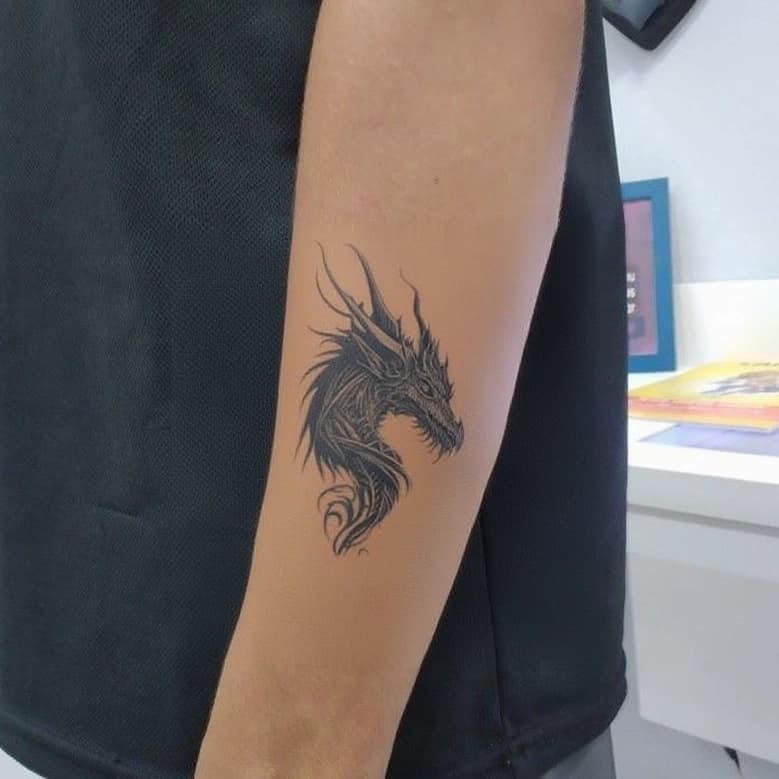
If you are testing a forearm tattoo, show the full forearm. If you are testing a shoulder piece, include enough shoulder and upper arm to judge flow.
Test realistic size first
Many tattoo regrets come from scale. A design that looks detailed at phone size may become too crowded when placed on skin, or too small to age well.
Start with a realistic size instead of the size that looks most dramatic in the preview. Ask:
- Can I read the main shape from a few feet away?
- Are the small details too dense?
- Does the design have enough negative space?
- Will this still look clear when it settles?
Virtual try-on makes these questions easier because you can compare several sizes side by side before choosing a direction.
Rotate with the body, not the screen
A tattoo should follow the body area, not just sit straight on the image. Forearm, rib, shoulder, and thigh placements often need a slight angle to look natural.
When previewing placement, rotate the tattoo so it flows with the limb or muscle shape. A small rotation can make the same design feel much more intentional.
Compare more than one placement
Do not stop after the first preview. Try at least three placements:
- your first instinct
- a slightly smaller version
- a nearby alternate location
For example, a design planned for the inner forearm might work better on the outer forearm if the shape is wider. A wrist design may look better slightly above the wrist crease where it has more room to breathe.
Save previews for your artist
Download the best previews and bring them to your consultation. They help your artist understand:
- approximate size
- preferred placement
- angle and orientation
- style direction
- how visible you want the tattoo to be
Your artist may still adjust the design. That is a good thing. Skin moves, curves, stretches, and heals differently from a flat image. A preview gives you a shared starting point.
Use try-on to reduce uncertainty
A tattoo is permanent, but the decision process does not have to be blind. Previewing placement gives you a way to test assumptions before you commit.
BeforeOuch is most useful when you use both features together: generate tattoo concepts with the AI Tattoo Generator, then test placement with Tattoo Try-On. That turns an abstract idea into a concrete visual decision.